DIY Brake Repair: Fix Your Car By Yourself
Find Used Engines and Transmissions for a Great Price! Live Assistant For Used Engines Call 1800-518-9776

A car is a precious resource, and no owner ever wants it to break down or get damaged, but with time, these things are unavoidable. One such part that might face wear and tear is the brakes. These brakes play a very important role in keeping everyone on the road safe, so when these brakes get damaged, there is an urgent need to fix them.
These breaks are made up of a number of components, and each of them can affect the working of the whole break system. These components together provide us with the protection of stopping the car during times of need, and a single component going out of function can lead to some drastic situations and even the loss of life.
While professional help is always available, there are times when we are in urgent need of fixing these breaks on our own. In this blog today, we will be looking at DIY brake repair so that you yourself can fix the brakes during a time of need. With step-by-step discussion, this will be handy knowledge to gain.
Gathering the necessary tools and parts
The very first step in any DIY repair is to gather up all the necessary tools and parts. If you are changing a flat tyre, you cannot start with no spare tyre; you need to have an inflated tyre. Similarly, if you are fixing the brake system, you need to have all the required tools and the parts you are thinking about changing.
Though making sure that you are equipped with the right tools and parts is enough, you should be aware if the part that is affected is changeable without professional interference. The list of all the required tools is given below
-
 Jack and Jack stand
-
Lug wrench
-
Socket and ratchet set
-
C-clamp
-
Brake fluid
-
New brake pads and possibly rotors (if required)
-
Brake calliper tool (for retracting pistons)
-
Torque wrench,
-
Brake cleaner
-
Safety gear (gloves, eye protection)
Lifting the car
Lifting the car up and supplying it with a jack is a crucial task for the break repair. Make sure that you are careful while undertaking this task. The car should be stable before you proceed further. An unbalanced car can lead to casualties.
Remove the old brake pads: A stepwise guide
Here is a short, step-by-step tutorial on removing the brake pads:
-
To remove a wheel, first loosen the lug nuts, then elevate the automobile and support it with jack stands.
-
The brake calliper is located behind the steering wheel. Retaining pins or clips should be removed.
-
Release the calliper by gently pulling it away from the rotor until the brake pads are visible.
-
Carefully remove the old brake pads from the calliper bracket holes.
-
When installing new pads, it is helpful to take note of the previous ones' placement for visual reference.
-
Use a wire or bungee rope to suspend the calliper to prevent stress on the brake line.
Replace the brake pads: How do you do it?
To replace the brake pad after removing the old ones
-
Pad Placement:
New brake pads should be inserted into the calliper bracket so that they line up with the slots that the old brake pads had occupied.
-
Calliper Positioning:
Make sure the new pads and rotor are securely seated before carefully placing the calliper over them.
-
Calliper Attachment:
Using the original bolts or pins, the person should reattach the calliper to the calliper bracket.
-
Tightening:
Using the proper tools, tighten the calliper bolts or pins to the manufacturer's specifications.
-
Reinstalling the wheel:
After making sure the calliper is firmly fastened, the user should replace the wheel, hand-tighten the lug nuts, and then lower the car.
-
Final Inspections:
Prior to starting a vehicle, the operator must test the brakes and then use a torque wrench to tighten the lug nuts in a crisscross pattern.
How do I inspect and replace the brake rotor?
For optimum safety and performance, brake rotor inspection and replacement must follow these thorough steps:
-
Safety first:
Put on safety gear, park the car somewhere flat, and apply the parking brake.
-
Wheel safety:
To remove a wheel safely, loosen the lug nuts, raise the car, and use jack stands.
-
Bolts removed:
Remove the bolts or pins holding the calliper in place, then hang them from a wire to prevent stress on the brake line.
-
Rotor examination:
Look for scoring, grooves, or excessive wear on the rotor's surface. Replace the rotor if it has sustained significant damage.
-
Replacement:
Replace the rotor by unscrewing and removing the calliper bracket first, then separating the rotor from the hub.
-
Installation of a new rotor:
Reattach the calliper bracket, calliper, and wheel after mounting the replacement rotor onto the hub.
-
Testing:
Before you start driving, lower the car, tighten the lug nuts, and test the brakes at a low speed.
Bleed the brake system
The procedure known as "bleeding the brake system" is intended to eliminate air bubbles from the brake lines and ensure appropriate brake performance. Spongy brakes and decreased braking effectiveness might result from air in the brake lines. The procedure entails gradually releasing trapped air in the brake lines and substituting brake fluid for it. In order to bleed the brakes:
-
Starting Point:
Start with the brake that is farthest away from the master cylinder (often on the rear passenger side), then work your way closer and farther away.
-
Assistance:
Employ a helper to push the brake pedal while you complete the bleeding procedure.
-
Unlocking the valve:
Close the valve and insert the tubing's other end into the container's brake fluid to bleed the brakes. Unlock the valve.
-
Action by the assistant:
Ask for your assistance to gently depress the brake. Through the tube, air bubbles will move, and the pedal will finally solidify.
-
Close Valve:
Tell your helper to keep the pedal depressed while you close the valve. Then, request that they let off the pedal.
-
Repeat:
Continue until there are no longer any visible air bubbles in the tubing. To avoid the master cylinder reservoir running out of fluid throughout the operation, check and fill it.
-
Next Brake:
Continue with the next brake in the series and repeat steps 4 through 7.
-
Final Check:
Once all brakes have been bled, perform one more check to make sure all valves are closed and to top off the brake fluid reservoir. Verify the car's enhanced brake feel and performance by driving it.
Test the brakes: How to do it
-
Safe Environment:
To ensure safety during testing, pick a space that is open and clear, preferably a parking lot.
-
Visual inspection:
Look for any leaks, gauge the amount of brake fluid, and assess the condition of the braking parts.
-
Gentle Braking:
At first, brake gently while moving at a modest speed. Watch how the pedal feels under your feet and whether the automobile stops easily.
-
Straight Line Test:
Drive slowly and softly depress the brake pedal. Make sure the vehicle stops in a straight line without swerving.
-
Brake pedal feel:
Observe how responsive and strong or soft and mushy the brake pedal feels. The optimal pedal is firm.
-
Noises:
When applying the brakes, pay attention to strange noises like grinding, screeching, or clicking.
-
Emergency braking:
Find a safe area and practise emergency braking there. To determine how quickly the car stops, apply the brakes firmly and at a higher speed.
-
ABS functionality:
Test your car's anti-lock braking system (ABS) on a slick surface to make sure it works as intended.
-
Post-Test:
After the test, check to see if the brakes are overheating and if any burning smells are present.
Conclusion
In conclusion to the blog, we can say that though DIY is easy, make sure that you are ensuring your safety first, followed by a thorough inspection of the instruction manual. You do not want to end up adding to the damage to the brake system of your car.
Used Engines is a team of automobile enthusiasts. We deal in second-hand transmissions and engines to serve your used needs so that you can keep your car running smoothly.
related
You May Also Like
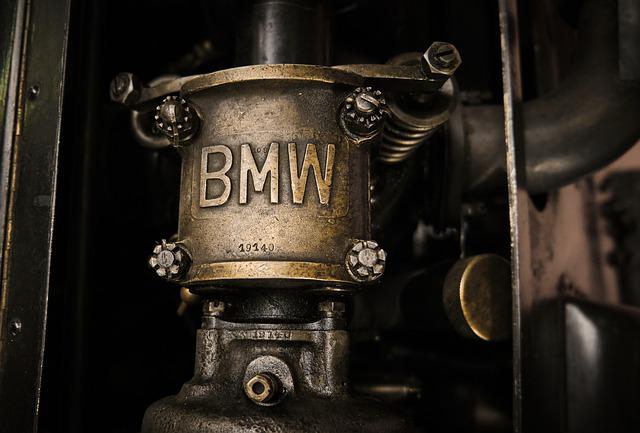
Which BMW Has the Most Horsepower?
A car is useless if it doesn’t have good horsepower. Just imagine driving your car with sluggish acceleration and it drags on the road whenever you take it for a spin.
Read Article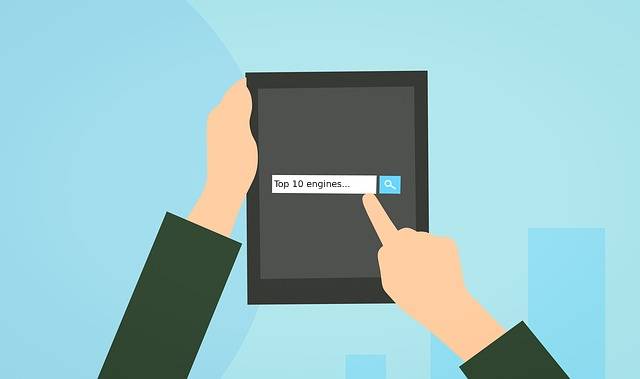
10 Best Engines Made So Far By Top Engine Manufacturers
Over the years, the car industry has seen major changes. Car engines have become smarter and it looks like every new engine that rolls out is better than the other.
Read Article
How to Make Your Car Last Forever?
Isn’t it lovely when a new car works the way you want? The gears shift smoothly and the wheels roll without dragging against the road. But as your car gets older, you’ll notice that it doesn’t drive smoothly, has lower fuel mileage, and overheats easily.
Read Article